

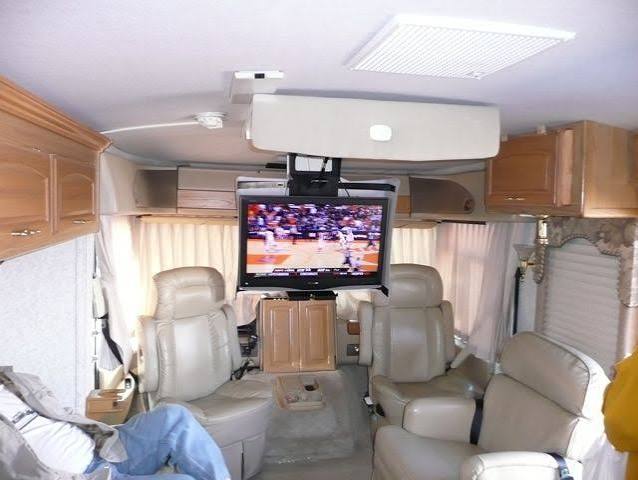
A complete, practical guide to installing a TV lift in a small RV or camper cabinet — measuring, reinforcing, wiring, and testing before you hit the road.
Installing a TV lift in an RV takes more precision than a home install. There's less room for error in the measurements, the cabinetry needs reinforcement most home furniture doesn't, and everything needs to survive real highway vibration, not just sit in place. Here's the full process.
Step 1: Measure every dimension — twice
Confirm cabinet depth, width, and height with the mechanism's full specs in hand, not just a general sense of "it should fit." Pay particular attention to clearance above the cabinet opening RV ceilings and overhead cabinets often leave less headroom than people expect, and this is the single most common measurement mistake in RV installs. Measure the TV's mounted depth (including the bracket) against the cabinet's internal depth with the mechanism fully collapsed, and build in a margin, not an exact fit.
Step 2: Match TV weight to mechanism rating — with a safety margin
RV lift mechanisms are typically rated for lighter loads than home mechanisms, and vibration adds real stress beyond the TV's static weight. Don't assume a home-rated mechanism will perform reliably under RV conditions even if the static weight rating technically allows it look specifically for mechanisms rated or marketed for mobile use.
Step 3: Reinforce the mounting surface before attaching anything
RV cabinetry is frequently built lighter than home furniture, prioritizing weight savings over structural mass. Before attaching the lift bracket, add a reinforcing plate a piece of plywood or a metal mounting plate sized to distribute the load across a wider area of the cabinet structure, rather than concentrating stress on a few screw points into thin factory paneling.
Step 4: Decide your electrical approach before cutting or drilling
Determine whether you're wiring into the RV's existing 12V system or running a 120V circuit off an inverter. This decision affects which mechanism you should buy in the first place, so ideally it's settled before purchase but if you're retrofitting an existing mechanism, confirm compatibility now, before any permanent modifications are made.
Step 5: Route and secure every cable along the lift's path
This step matters more in an RV than anywhere else. Zip-tie or clip every cable power, HDMI, any peripheral wiring at multiple points along its run, ensuring nothing has slack that could catch, pinch, or work loose as the TV rises and lowers, and as the vehicle vibrates over thousands of miles of road. A cable that's merely "fine" when stationary can become a real problem after a season of travel.
Step 6: Test thoroughly before final assembly and before travel
Cycle the lift through its full range of motion multiple times to confirm smooth operation and to make sure nothing rubs, catches, or strains. If possible, take a short test drive on rougher road before considering the install final this is the best way to catch a loose connection or a rattling cable before it becomes a problem hundreds of miles from home.
Step 7: Plan for periodic re-checks
Unlike a home install, an RV lift should get a quick visual and hardware check every season (or after any particularly rough travel) confirming mounting bolts are still tight and cables are still secure. Building this into your regular RV maintenance routine catches small issues before they become failures on the road.